
1. Toast 的基本用法
2. 透過原始碼理解 makeText 方法
1. 客製化方法說明
2. 完整程式碼範例
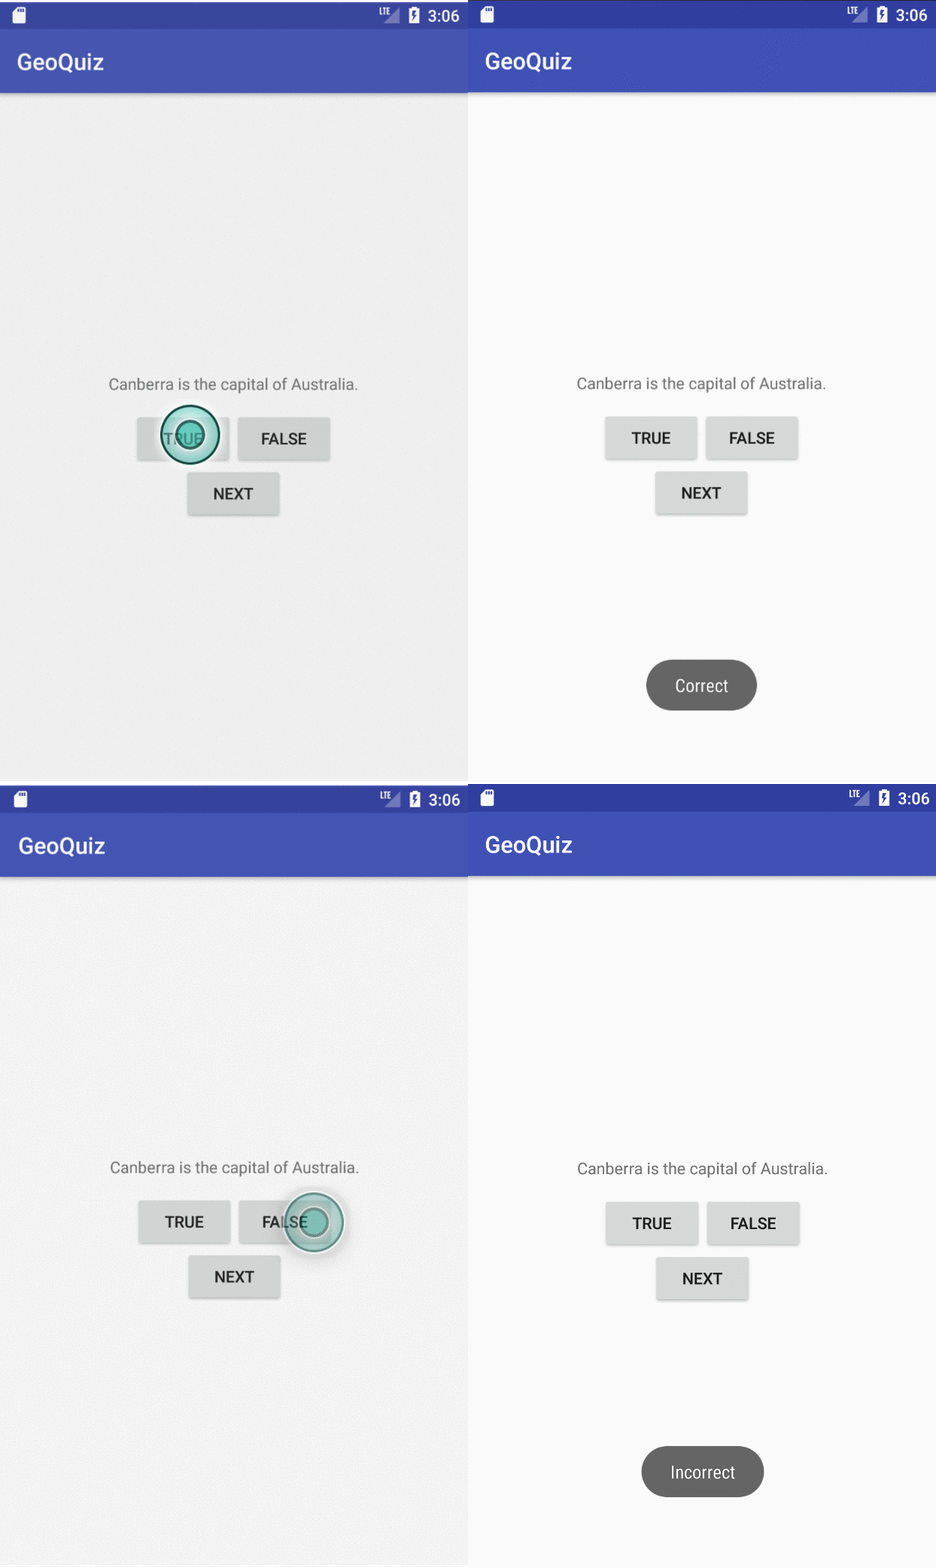
Toast (快顯) 可以用來提供使用者一些簡單的訊息。當 Toast 呼叫 show() 方法時,手機螢幕上會顯示一些訊息,這些訊息會在一定時間內消失。Toast 的呈現可參考下圖,下圖是一個 Toast 透過基本的使用方法所呈現的執行結果,它分別顯示了按 True 按鈕和 False 按鈕會跑出的 Toast 訊息。

在官方網站提供的 Toast 類別參考文件中可看到一個 public 的建構子 Toast(Context context),而回傳 Toast 類別的方法有makeText(Context context, int resId, int duration)和makeText(Context context, CharSequence text, int duration)。makeText 是最簡單設定好 Toast 所需資料的方法,它的樣子就如上圖,文字的顯示和出現的時間長短 (duration) 都可透過 makeText 方法設定。若要做客製化的 Toast,則需 new Toast(Context context) 建構子,接著設定其顯示的客製化的 View、View 中的文字或圖片等以及出現的時間長短。另外要設定 Toast 出現的位置要使用 setGravity(int gravity, int xOffset, int yOffset)方法,若無設定顯示的位置,則預設在螢幕下方且水平置中的位置,如上圖所示。此篇文章將會說明 Toast 的基本用法以及客製化方法。
Toast 的基本使用方法是透過 makeText 以及 show 方法完成,本章將先展示 Toast 的基本使用方法再說明 makeText 方法做了哪些設定。
在官方網站中提供的基本使用方法如下面的程式碼。這裡要注意的是 duration 的設定只可以是 Toast.LENGTH_SHORT 或 Toast.LENGTH_LONG。
Context context = getApplicationContext();
CharSequence text = "Hello toast!";
int duration = Toast.LENGTH_SHORT;

Toast toast = Toast.makeText(context, text, duration);
toast.show();
而上面的程式碼也可改寫如下。
Toast.makeText(getApplicationContext(), "Hello toast!", Toast.LENGTH_SHORT).show();
若要設定其顯示位置,則可參考下面的程式碼。設定好位置後再呼叫 show() 方法則看見其位置的改變。
toast.setGravity(Gravity.TOP|Gravity.LEFT, 0, 0);
toast.show();
Toast 的基本使用是透過 makeText 方法完成的,在 GC 網站上查到的原始碼如下。makeText 方法有兩種重載形式,差別在於文字的取得方法,但最終都會呼叫 makeText(Context context, CharSequence text, int duration)。程式碼中可發現此方法會設定好 Toast 的 View、設定 View 中 TextView 的文字、和 Toast 顯示的時間長短。
public static Toast More makeText(Context context, CharSequence text, int duration) {
      Toast result = new Toast(context);

      LayoutInflater inflate = (LayoutInflater)
              context.getSystemService(Context.LAYOUT_INFLATER_SERVICE);
      View v = inflate.inflate(com.android.internal.R.layout.transient_notification, null);
      TextView tv = (TextView)v.findViewById(com.android.internal.R.id.message);
      tv.setText(text);

      result.mNextView = v;
      result.mDuration = duration;

      return result;
}

public static Toast More makeText(Context context, int resId, int duration)
                              throws Resources.NotFoundException {
      return makeText(context, context.getResources().getText(resId), duration);
}
Toast 的客製化方法與上面的程式碼內容是是相同概念,經由理解上段程式碼便可很快的理解客製化 Toast 的方法。Toast 的客製化方法將會在下章展示。
客製化 Toast 的第一個步驟是先定義客製化的 Toast 所需要的畫面佈局檔,並設定此畫面中的文字或圖片,接著 Toast 透過 setView(View view) 方法設定 Toast 的 View 為此佈局,之後再透過 setDuration 以及 setGravity 設定顯示的時間長短以及顯示位置,最後呼叫 show() 方法在手機螢幕上顯示 Toast。本章節會說明客製化的方法並提供一個完整的程式碼範例。
在開始說明客製化方法前,我們得先認識 LayoutInflater。LayoutInflater 是用來加載佈局的,他可以將 xml 佈局黨轉換成 View,如此一來 Toast 便可透過 setView(View view) 方法完成客製化 Toast 的目的。
首現要先決定好 Toast 顯示的樣子,所以要到 res/layout 新增一個 xml 檔案,以下是官方網站的程式碼範例。
<LinearLayout xmlns:android="http://schemas.android.com/apk/res/android"
              android:id="@+id/custom_toast_container"
              android:orientation="horizontal"
              android:layout_width="fill_parent"
              android:layout_height="fill_parent"
              android:padding="8dp"
              android:background="#DAAA"
              >
    <ImageView android:src="@drawable/droid"
               android:layout_width="wrap_content"
               android:layout_height="wrap_content"
               android:layout_marginRight="8dp"
               />
    <TextView android:id="@+id/text"
              android:layout_width="wrap_content"
              android:layout_height="wrap_content"
              android:textColor="#FFF"
              />
</LinearLayout>
下面的程式碼是在 java 檔案中加載客製化佈局的方法。
LayoutInflater inflater = getLayoutInflater();
View layout = inflater.inflate(R.layout.custom_toast,
                (ViewGroup) findViewById(R.id.custom_toast_container));

TextView text = (TextView) layout.findViewById(R.id.text);
text.setText("This is a custom toast");

Toast toast = new Toast(getApplicationContext());
toast.setGravity(Gravity.CENTER_VERTICAL, 0, 0);
toast.setDuration(Toast.LENGTH_LONG);
toast.setView(layout);
toast.show();
activity_mail.xml
<?xml version="1.0" encoding="utf-8"?>
<android.support.constraint.ConstraintLayout xmlns:android="http://schemas.android.com/apk/res/android"
    xmlns:app="http://schemas.android.com/apk/res-auto"
    xmlns:tools="http://schemas.android.com/tools"
    android:layout_width="match_parent"
    android:layout_height="match_parent"
    tools:context="com.example.sarah.testcustomtoast.MainActivity">

    <Button
        android:layout_width="wrap_content"
        android:layout_height="wrap_content"
        android:text="Button"
        app:layout_constraintTop_toTopOf="parent"
        android:layout_marginTop="8dp"
        app:layout_constraintBottom_toBottomOf="parent"
        android:layout_marginBottom="8dp"
        android:layout_marginRight="8dp"
        app:layout_constraintRight_toRightOf="parent"
        android:layout_marginLeft="8dp"
        app:layout_constraintLeft_toLeftOf="parent"
        android:onClick="showToast"/>

</android.support.constraint.ConstraintLayout>
layout_toast.xml
<?xml version="1.0" encoding="utf-8"?>
<LinearLayout xmlns:android="http://schemas.android.com/apk/res/android"
    android:layout_width="match_parent"
    android:layout_height="match_parent"
    android:orientation="vertical"
    android:gravity="center">

    <TextView
        android:id="@+id/textView1"
        android:layout_width="wrap_content"
        android:layout_height="wrap_content"/>

    <TextView
        android:id="@+id/textView2"
        android:layout_width="wrap_content"
        android:layout_height="wrap_content"
        />

</LinearLayout>
MainActivity.java
package com.example.sarah.testcustomtoast;

import android.support.v7.app.AppCompatActivity;
import android.os.Bundle;
import android.view.LayoutInflater;
import android.view.View;
import android.widget.TextView;
import android.widget.Toast;

public class MainActivity extends AppCompatActivity {


    @Override
    protected void onCreate(Bundle savedInstanceState) {
        super.onCreate(savedInstanceState);
        setContentView(R.layout.activity_main);

    }

    public void showToast(View view){

        LayoutInflater layoutInflater = getLayoutInflater();
        View layout = layoutInflater.inflate(R.layout.layout_toast,
                null);
        TextView fistText = (TextView)layout.findViewById(R.id.textView1);
        TextView secondText = (TextView)layout.findViewById(R.id.textView2);

        fistText.setText("Hint");
        secondText.setText("This is a custom Toast!");

        Toast toast =new Toast(view.getContext());
        toast.setView(layout);
        toast.setDuration(Toast.LENGTH_LONG);
        toast.show();

    }
}
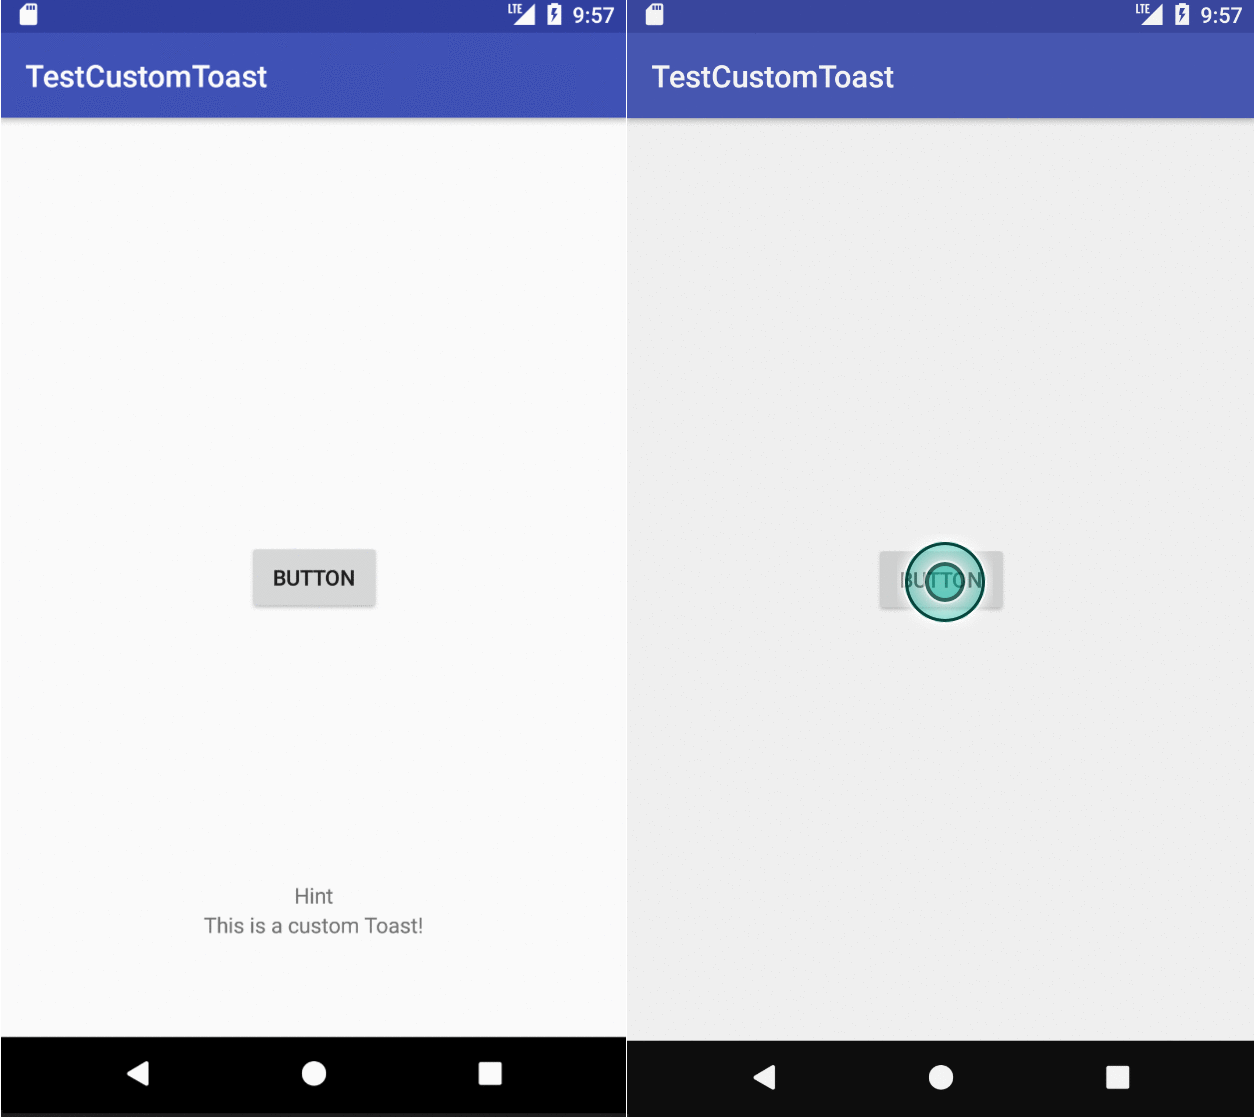
執行結果如下。

Android Programing The Big Nerd Ranch Guide