

本篇文章將以英文和繁體中文 (台灣) 為例來說明如何使一個 App 支援多國語言。
在新增語言資源前先準備一個簡單的 App 如下圖所,目前此程式只有英文字串資源,本章將會說明增加中文字串的方法。
res/layout/activity_main.xml 程式碼如下。
<?xml version="1.0" encoding="utf-8"?>
<android.support.constraint.ConstraintLayout
    xmlns:android="http://schemas.android.com/apk/res/android"
    xmlns:app="http://schemas.android.com/apk/res-auto"
    xmlns:tools="http://schemas.android.com/tools"
    android:layout_width="match_parent"
    android:layout_height="match_parent"
    tools:context="com.example.sarah.languages.MainActivity"
    >


    <TextView
        android:id="@+id/textView"
        android:layout_width="wrap_content"
        android:layout_height="wrap_content"
        android:layout_marginTop="32dp"
        android:text="@string/one"
        app:layout_constraintRight_toRightOf="parent"
        app:layout_constraintStart_toStartOf="parent"
        app:layout_constraintTop_toTopOf="parent"/>

    <TextView
        android:id="@+id/textView2"
        android:layout_width="wrap_content"
        android:layout_height="wrap_content"
        android:layout_marginTop="8dp"
        android:text="@string/two"
        app:layout_constraintEnd_toEndOf="parent"
        app:layout_constraintStart_toStartOf="parent"
        app:layout_constraintTop_toBottomOf="@+id/textView"/>


    <TextView
        android:id="@+id/textView3"
        android:layout_width="wrap_content"
        android:layout_height="wrap_content"
        android:layout_marginTop="8dp"
        android:text="@string/three"
        app:layout_constraintEnd_toEndOf="parent"
        app:layout_constraintStart_toStartOf="parent"
        app:layout_constraintTop_toBottomOf="@+id/textView2"/>

    <TextView
        android:id="@+id/textView4"
        android:layout_width="wrap_content"
        android:layout_height="19dp"
        android:layout_marginTop="8dp"
        android:text="@string/four"
        app:layout_constraintEnd_toEndOf="parent"
        app:layout_constraintStart_toStartOf="parent"
        app:layout_constraintTop_toBottomOf="@+id/textView3"/>

</android.support.constraint.ConstraintLayout>
res/values/strings.xml
<resources>
    <string name="app_name">Languages</string>
    <string name="one">One</string>
    <string name="two">Two</string>
    <string name="three">Three</string>
    <string name="four">Four</string>
</resources>
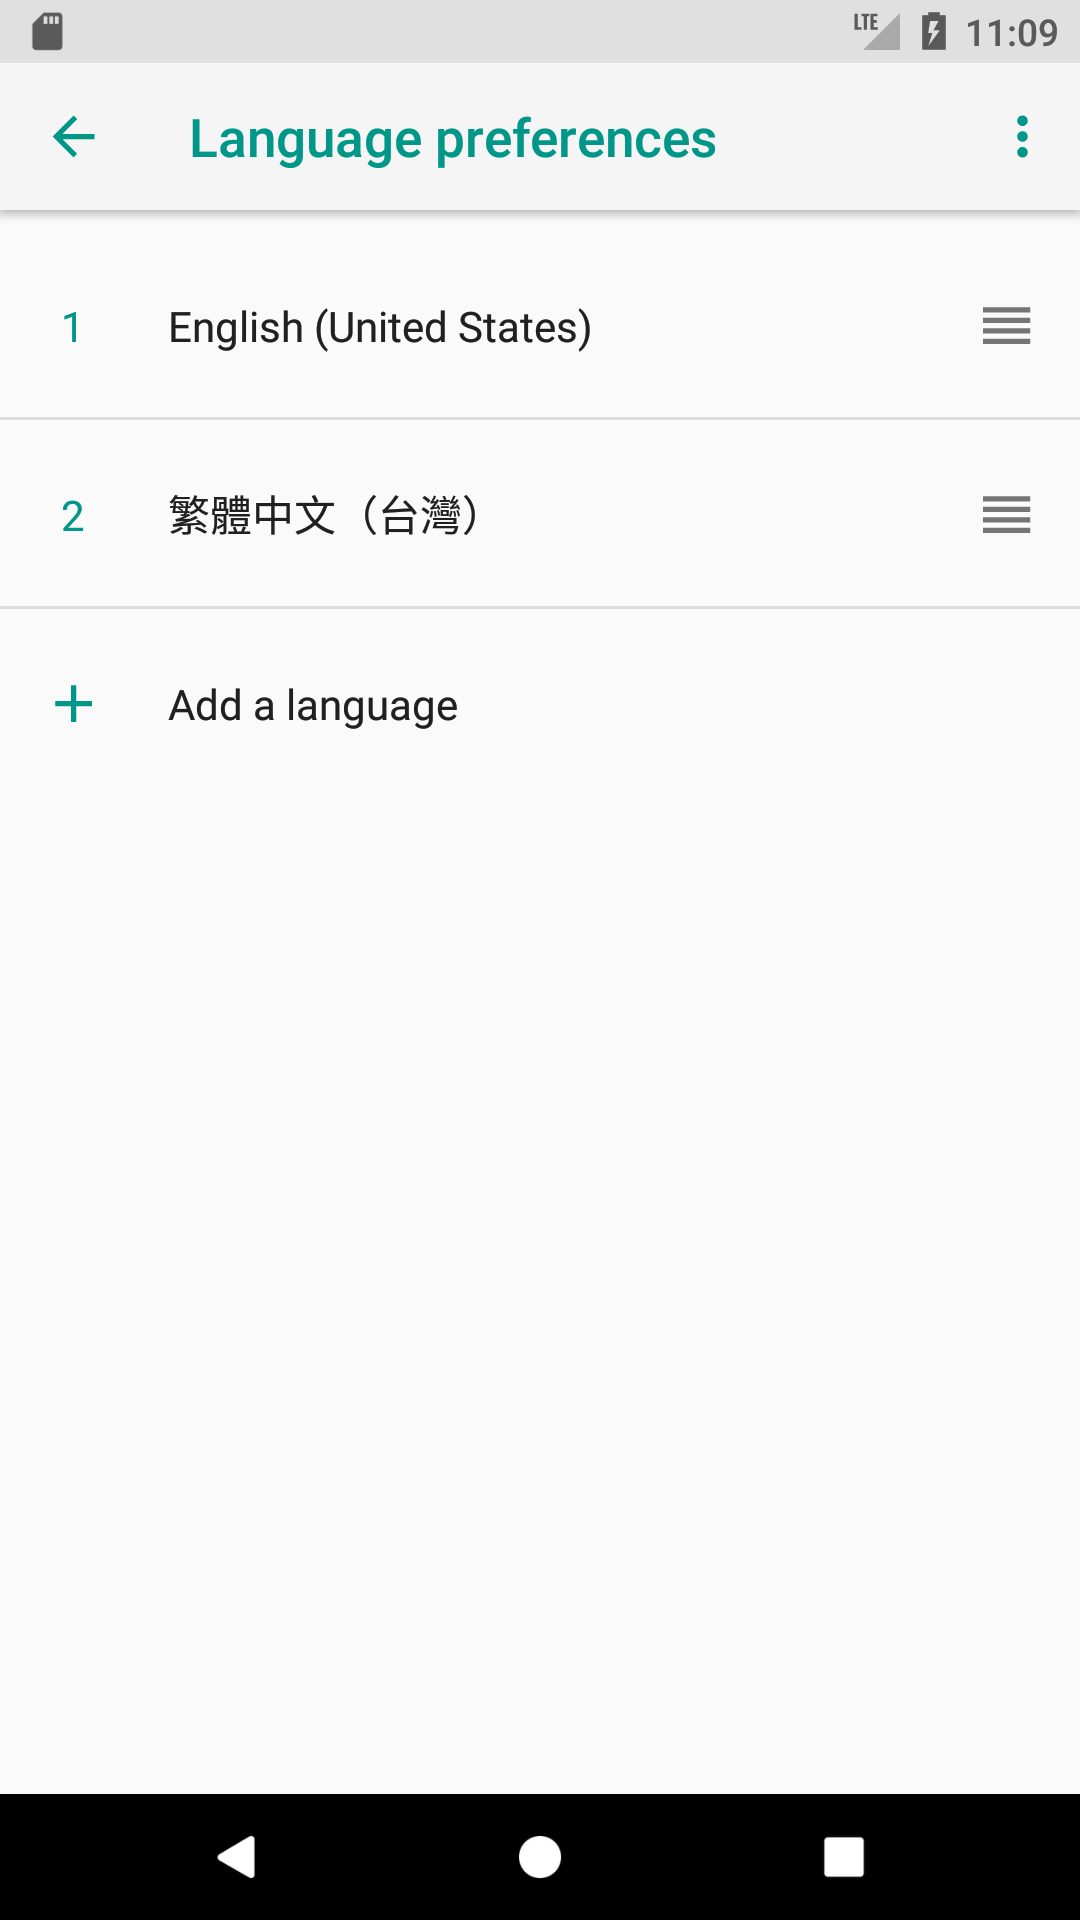
執行程式如下圖。

此時模擬器或手機的語言設定如下。
接下來要增加不同國家語言字串資料資源,以下提供兩種新增語言茲串資源的方法,第一種是透過 Translation Editor 、第二種是新增字串資源資料夾以及檔案。
打開 Translation Editor 的方法如下圖。
![]()
Translation Editor 如下圖所示。
![]()
新增台灣語言字串資源。

輸入台灣的語言字串

打開模擬器設定如下。
執行結果。

這個方法直接利用新增資源的方法增加新增資源。
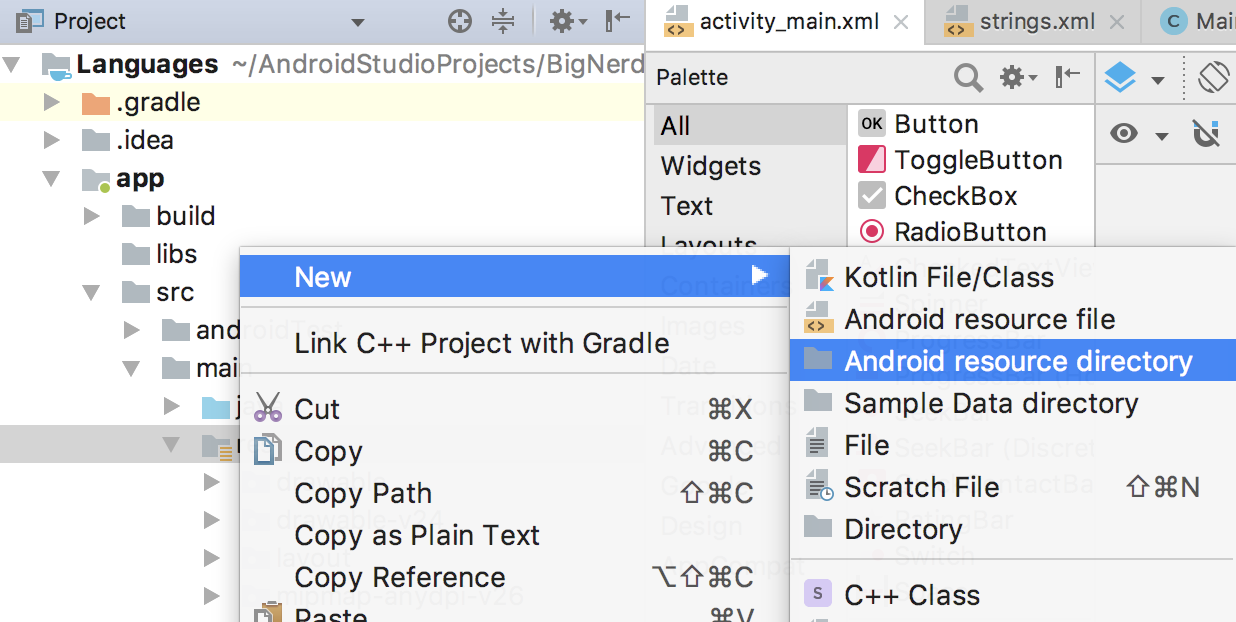
首先到對 res 資料夾按右鍵,如下圖。
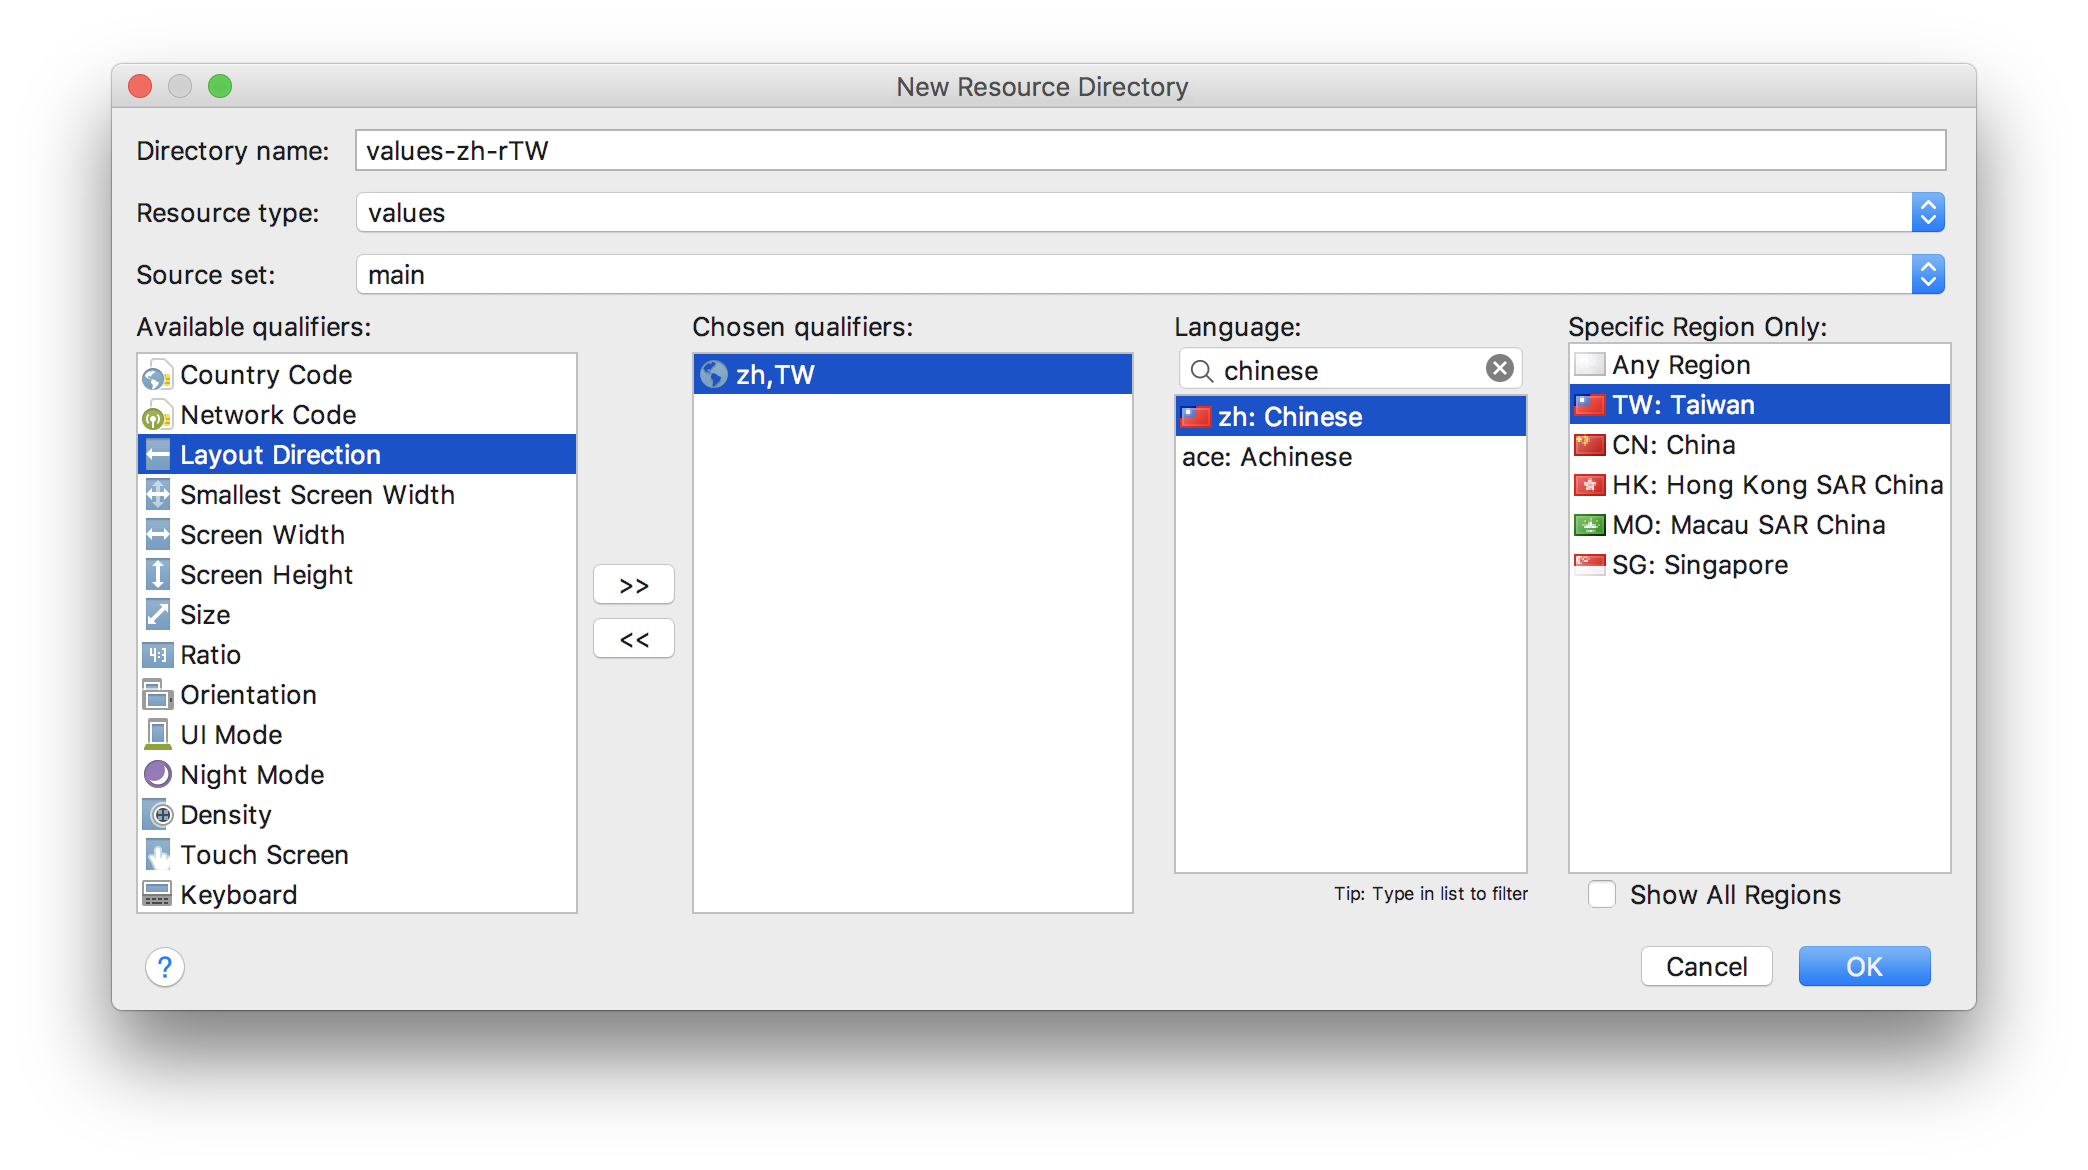
接著複製下圖設定。
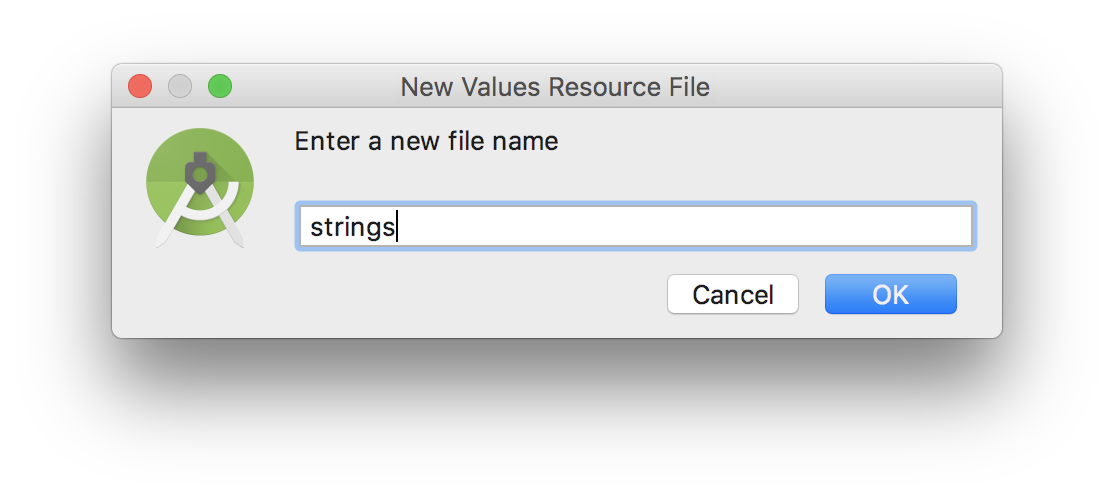
接著對著新增的資料夾按右鍵以新增字串資源,如下圖

命名為 strings。
打開新增的資源檔,並輸入程式碼如下。
res/values-zh-rTW/stringa.xml
<?xml version="1.0" encoding="utf-8"?>
<resources>
    <string name="app_name">語言</string>
    <string name="four">四</string>
    <string name="one">一</string>
    <string name="three">三</string>
    <string name="two">二</string>
</resources>
執行結果。