Fragment 是 Android 3.0 (API 11) 推出的一個重大功能,主要功能可使 App 畫面在不同大小的螢幕上顯示時有不一樣的表現。以下圖為例,在小螢幕手機上所顯示的 A 畫面與 B 畫面是分開來的,但是在平板 (較大的螢幕) 上可使 A 畫面與 B 畫面同時顯示,如下圖所示,下圖取自 Android 官網。Fragment 的重要性在於更彈性的設計使用介面,而 Fragment 的使用需由嵌入 Activity。

懂得如何靈活運用 Fragment 的步驟就是要知道如何在 Activity 中嵌入 Fragment。請各位讀者先建立好一個專案並依照下列步驟便可完成 Fragment 的基本使用。
activity_main.xml 的佈局如下,FrameLayout 是作為 Fragment 畫面的容器,要記得為此 Layout 設 id。
<?xml version="1.0" encoding="utf-8"?>
<FrameLayout
    xmlns:android="http://schemas.android.com/apk/res/android"
    xmlns:tools="http://schemas.android.com/tools"
    android:layout_width="match_parent"
    android:layout_height="match_parent"
    android:id="@+id/fragment_container"
    tools:context="com.little.testfragment.MainActivity">

</FrameLayout>
這個佈局畫面是讓使用者操作的 App 畫面,本範例只改了背景色。
<?xml version="1.0" encoding="utf-8"?>
<android.support.constraint.ConstraintLayout
    xmlns:android="http://schemas.android.com/apk/res/android"
    android:layout_width="match_parent"
    android:layout_height="match_parent"
    android:background="@android:color/holo_blue_bright">

</android.support.constraint.ConstraintLayout>
此類別繼承 Fragment 並且覆寫 onCreateView 方法來取得畫面。
package com.little.testfragment;

import android.os.Bundle;
import android.support.annotation.Nullable;
import android.support.v4.app.Fragment;
import android.view.LayoutInflater;
import android.view.View;
import android.view.ViewGroup;

/**
 * Created by sarah on 15/12/2017.
 */

public class ContentFragment extends Fragment {

    @Nullable
    @Override
    public View onCreateView(LayoutInflater inflater, @Nullable ViewGroup container, @Nullable Bundle savedInstanceState) {
        View v = inflater.inflate(R.layout.fragment_content,container,false);
        return v;
    }
}
完成下面的程式碼後就完成了 Fragment 的基本使用,程式碼中先用 FragmentManager 尋找 Fragment 是因為呼叫 onCreate 後所建立的 Fragment 會在 onDestroy 調用後被 FragmentManager 儲存起來,所以下一次呼叫 onCreate 時就直接從 FragmentManager 取得就可以了。
package com.little.testfragment;

import android.support.v4.app.Fragment;
import android.support.v4.app.FragmentManager;
import android.support.v7.app.AppCompatActivity;
import android.os.Bundle;

public class MainActivity extends AppCompatActivity {

    @Override
    protected void onCreate(Bundle savedInstanceState) {
        super.onCreate(savedInstanceState);
        setContentView(R.layout.activity_main);

        FragmentManager fragmentManager = getSupportFragmentManager();
        Fragment fragment = fragmentManager.findFragmentById(R.id.fragment_container);

        if(fragment == null){
            fragment = new ContentFragment();
            fragmentManager.beginTransaction()
                    .add(R.id.fragment_container,fragment)
                    .commit();
        }

    }
}
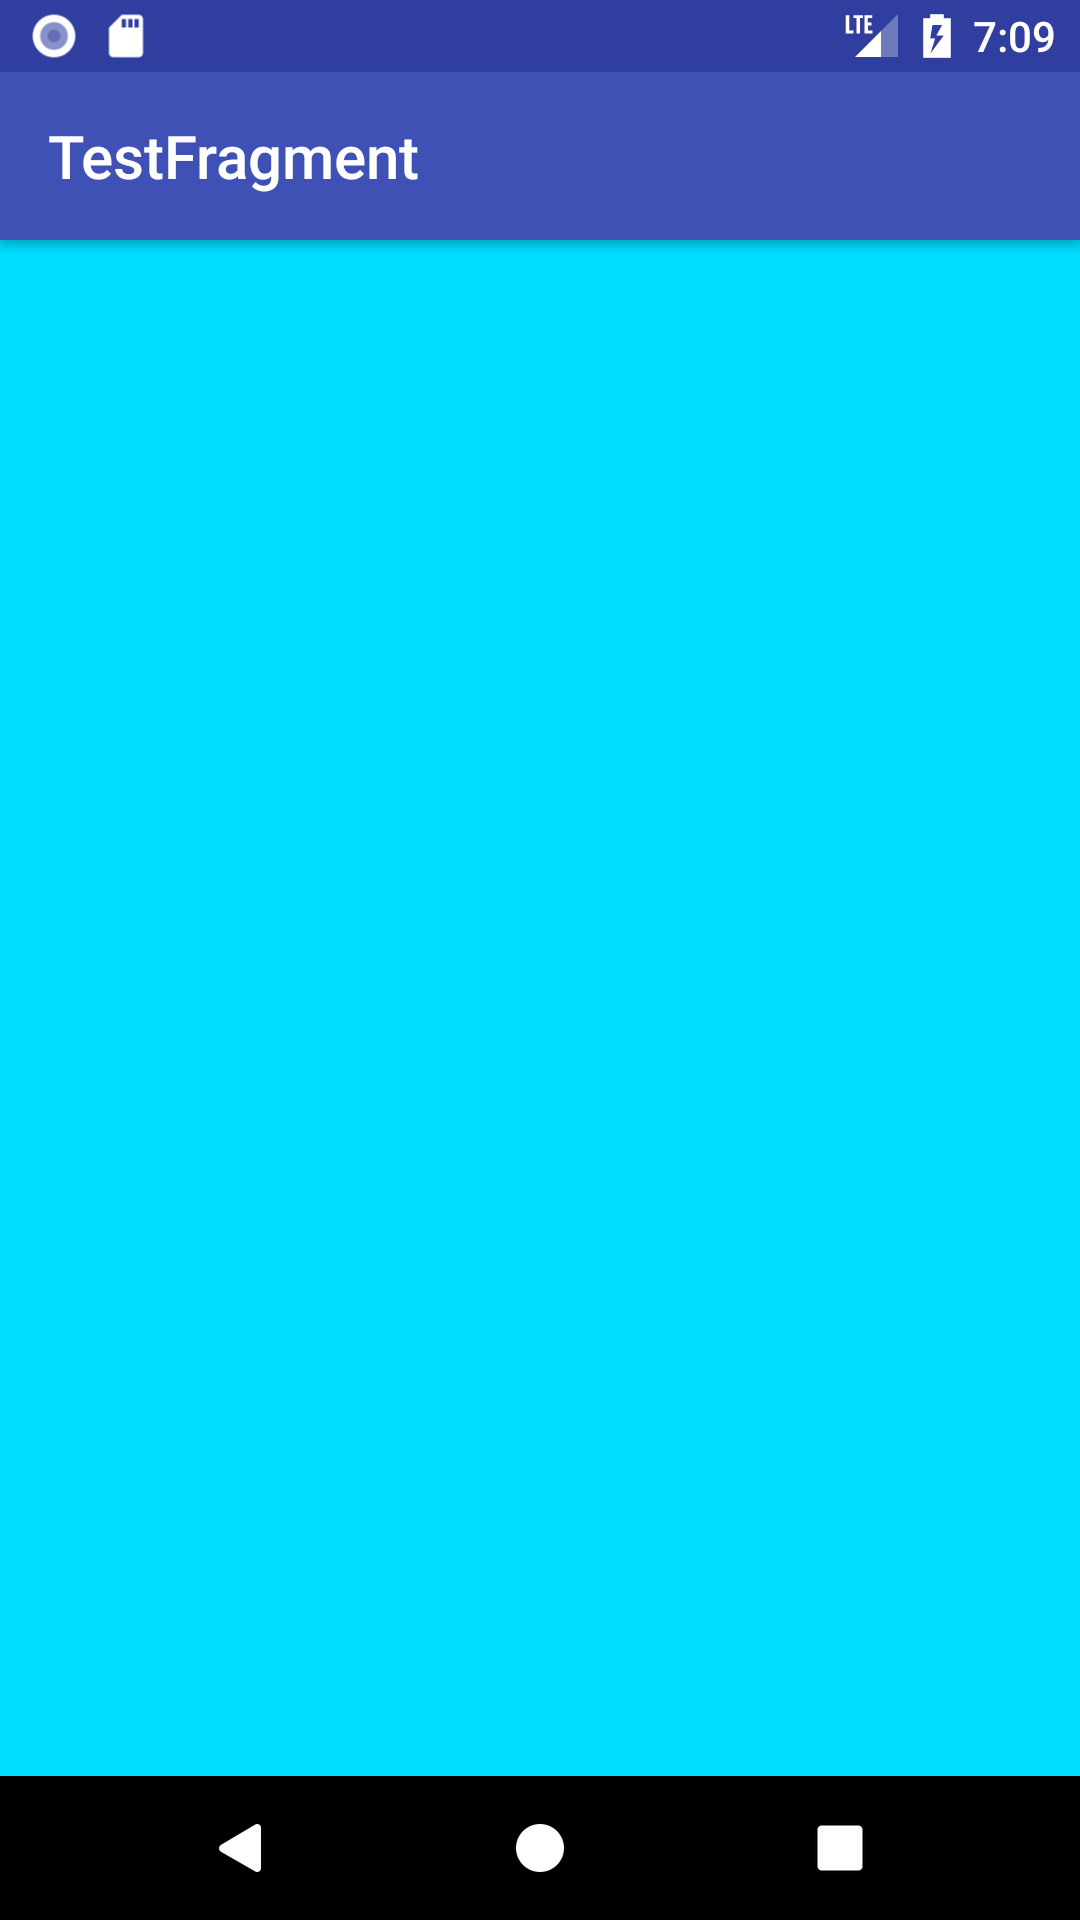
執行結果